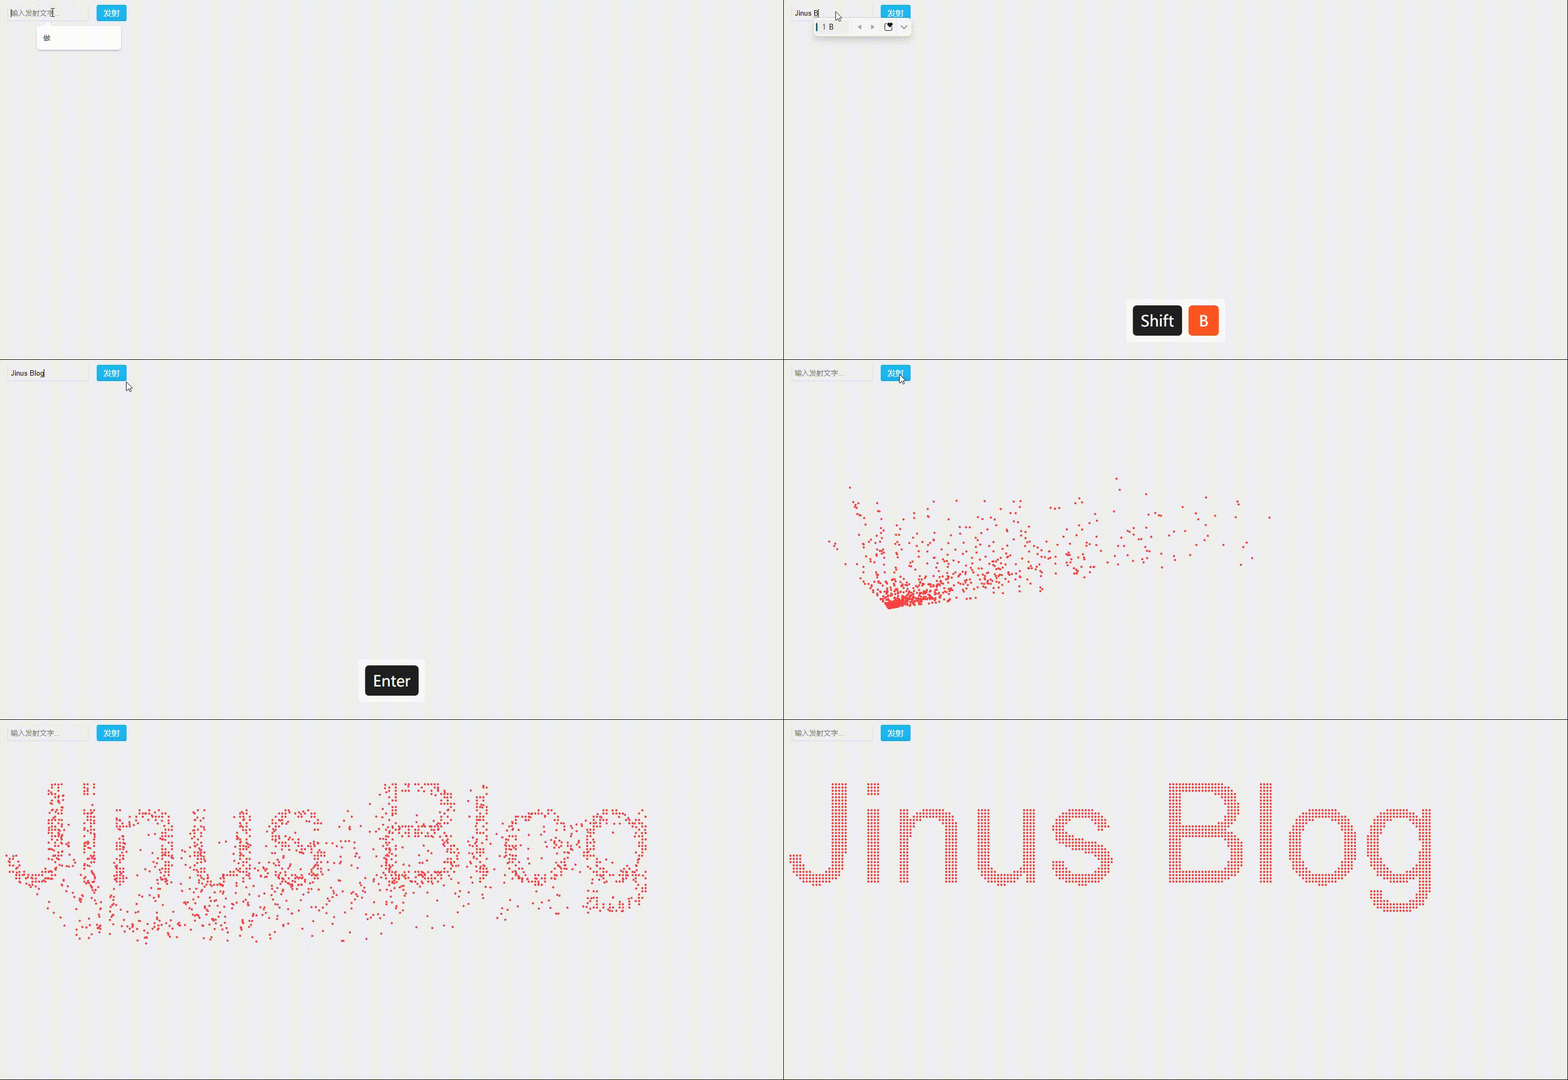
 canvas自定义实现粒子动画
# 概述
canvas可以实现对图像的像素进行操作,因此可以借助其getImageData方法实现粒子,本文示例是参考了github (opens new window)
# 效果
 ### 核心代码
核心代码主要分为两部分:粒子化和动画
# 粒子化
示例如下 定义粒子 定义粒子,每一个粒子包含其坐标信息,半径大小,帧数
function Dot(centerX, centerY, radius) {
  this.x = centerX;
  this.y = centerY;
  this.radius = radius;
  this.frameNum = 0;
  this.frameCount = Math.ceil(3000 / 16.66); // 3 秒动画 60fps ,获取帧数
  this.sx = startX;
  this.sy = startY;
  this.delay = this.frameCount * Math.random(); //随机延迟
  this.delayCount = 0;
}
1
2
3
4
5
6
7
8
9
10
11
2
3
4
5
6
7
8
9
10
11
图像粒子化
主要做的就是将当前画布的内容(位置)信息提取到变量dotList保存
var imgData = ctx.getImageData(0, 0, canvas.width, canvas.height);
for (var x = 0; x < imgData.width; x += mass) {
  // mass 表示间隔,空隙,可以理解为抽样
  for (var y = 0; y < imgData.height; y += mass) {
    var i = (y * imgData.width + x) * 4;
    if (imgData.data[i + 3] > 128 && imgData.data[i] < 100) {
      var dot = new Dot(x, y, dotRadius); // dotRadius 表示粒子的半径大小
      dotList.push(dot);
    }
  }
}
1
2
3
4
5
6
7
8
9
10
11
2
3
4
5
6
7
8
9
10
11
# 动画
动画实现如下
// 缓动函数
// t 当前时间
// b 初始值
// c 总位移
// d 总时间
var effectFunc = {
  easeInOutCubic: function (t, b, c, d) {
    if ((t /= d / 2) < 1) return (c / 2) * t * t * t + b;
    return (c / 2) * ((t -= 2) * t * t + 2) + b;
  },
  easeInCirc: function (t, b, c, d) {
    return -c * (Math.sqrt(1 - (t /= d) * t) - 1) + b;
  },
  easeOutQuad: function (t, b, c, d) {
    return -c * (t /= d) * (t - 2) + b;
  },
};
1
2
3
4
5
6
7
8
9
10
11
12
13
14
15
16
17
2
3
4
5
6
7
8
9
10
11
12
13
14
15
16
17
编辑 (opens new window)
上次更新: 2024/08/08, 06:34:12
